Light & landscapes
Chasing the light: a guide to golden-hour photography
Learn to work with the gentle light around sunrise and sunset, from finding a composition to keeping the last glow in your photographs.
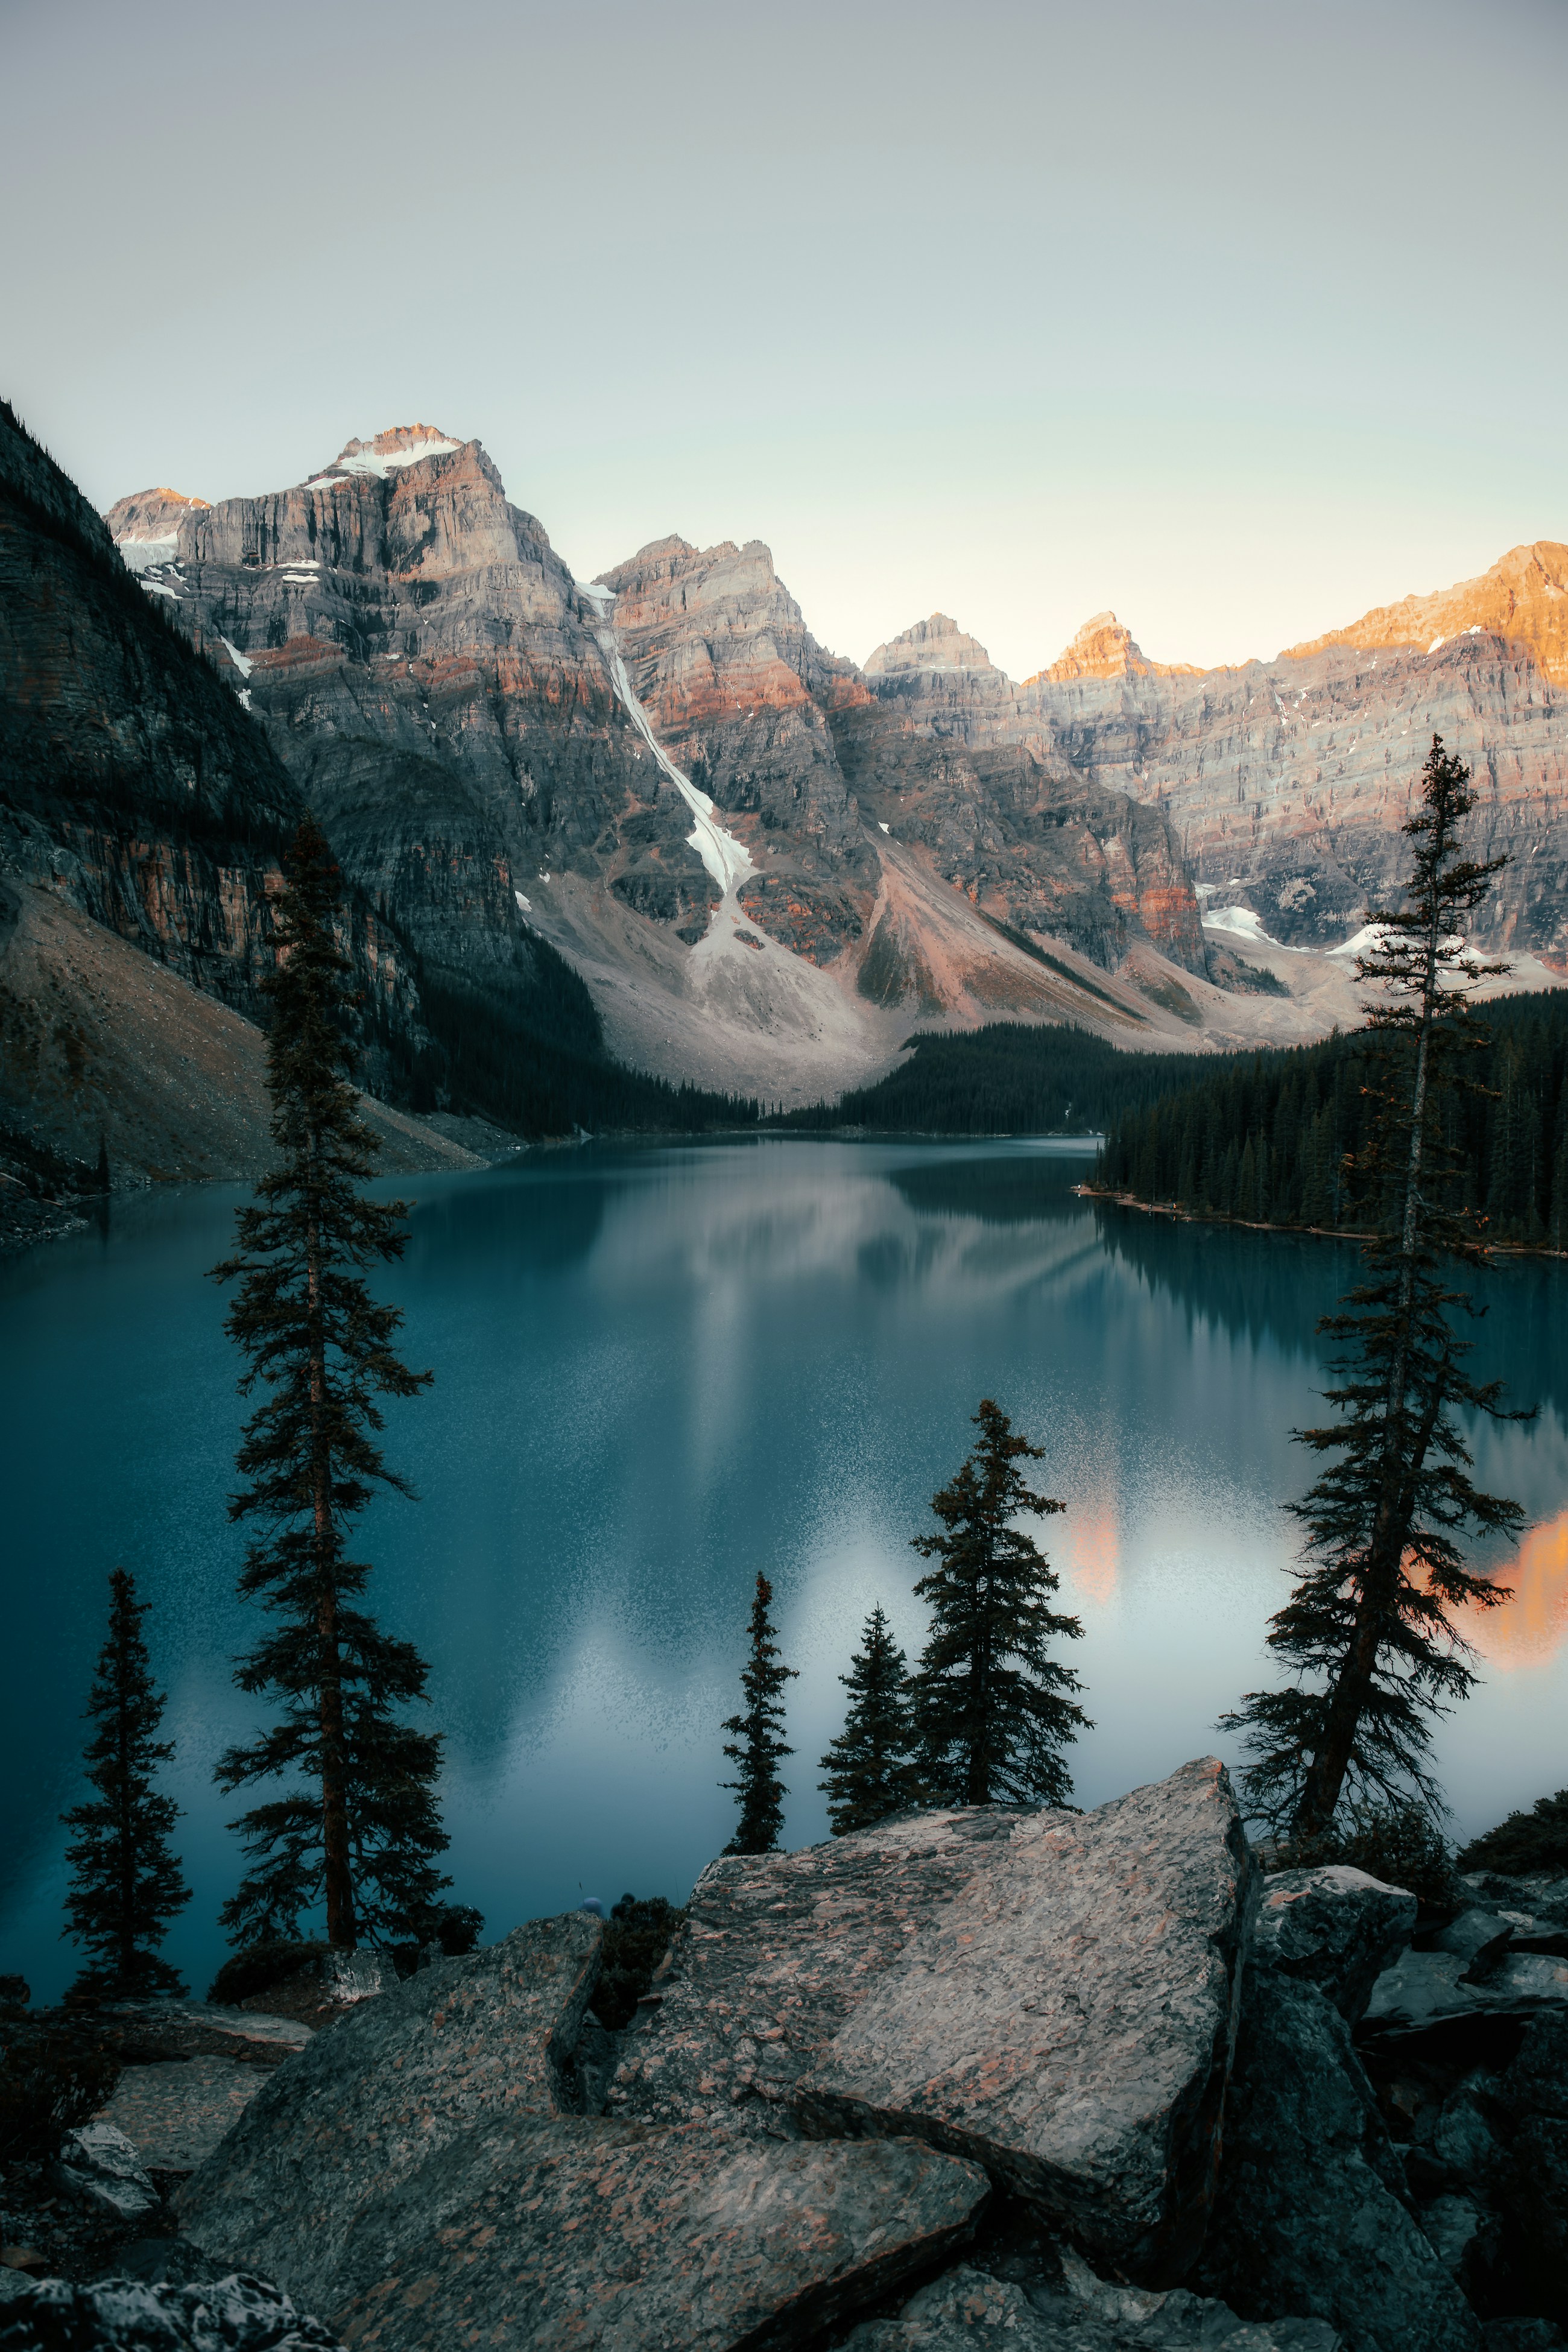
There is a moment when a familiar landscape becomes unfamiliar again. A hillside catches a warm edge, shadows stretch across a field, and the ordinary suddenly feels worth stopping for. Golden-hour photography begins with noticing that change.
Arrive before the light
Golden hour describes the warm, low-angle light shortly after sunrise or before sunset. The name is a useful shorthand, not a promise of sixty perfect minutes. Clouds, terrain, season, and your location all affect the light you actually see. A mountain can hide the sun while the sky is still bright; a gap in the clouds can transform a grey evening in seconds.
Give yourself time to look before you start making photographs. Walk a short stretch of the available path, study the horizon, and choose one or two compositions. When the light changes, you can respond to the scene instead of searching for somewhere to stand. A nearby place you know well is often more useful for practice than an unfamiliar viewpoint reached at the last minute.
Follow the direction, not just the colour
Warm colour can be beautiful, but the direction of light gives a photograph its shape. Light from the side reveals ridges, folds, and the texture of grass. Light behind a subject can outline a leaf or turn a row of trees into silhouettes. With the sun behind you, look for subtle changes in tone across the landscape rather than relying on a dramatic sky.
Try making three different frames from the same location: one toward the light, one across it, and one looking away. Compare what happens to depth and contrast. You may find that the strongest photograph is a quiet patch of illuminated ground behind you, rather than the sunset everyone is watching.
Keep the exposure simple
Start with a composition, then choose settings that serve it. For a still landscape, aperture priority lets you choose how much of the scene appears sharp while the camera selects a shutter speed. An aperture around f/8 is a practical starting point on many cameras, not a rule. Check your foreground and distant details, and adjust for the lens and scene.
As daylight fades, watch the shutter speed. A tripod can help with camera movement during longer exposures, but it cannot freeze windblown leaves or moving water. Raise the ISO or use a wider aperture when you need a faster exposure. Review a magnified image occasionally instead of assuming that a bright preview means a sharp photograph.
Bright sky and dark ground can exceed what one exposure records comfortably. Check the histogram or highlight warning, and reduce exposure if important bright areas lose detail. On a phone, tap the area you want to prioritise and adjust the exposure control. Nikon’s guide to shooting at dusk explains the relationship between aperture, shutter speed, and fading light.
Leave room for the quiet moments
A successful evening does not require a brilliant sky. A small band of reflected colour, a dark branch against pale water, or a single lit summit can carry the photograph. Remove anything from the frame that competes with the detail that first caught your attention.
When you edit, let the scene keep its balance. If every shadow becomes bright and every warm colour becomes orange, the delicate relationship between light and darkness can disappear. Compare your edit with the original, take a short break, and return with fresh eyes. The aim is to make the moment readable, not to make every moment look like the same sunset.